EPIC Chocolate Chip Walnut Cookie – Version 2022

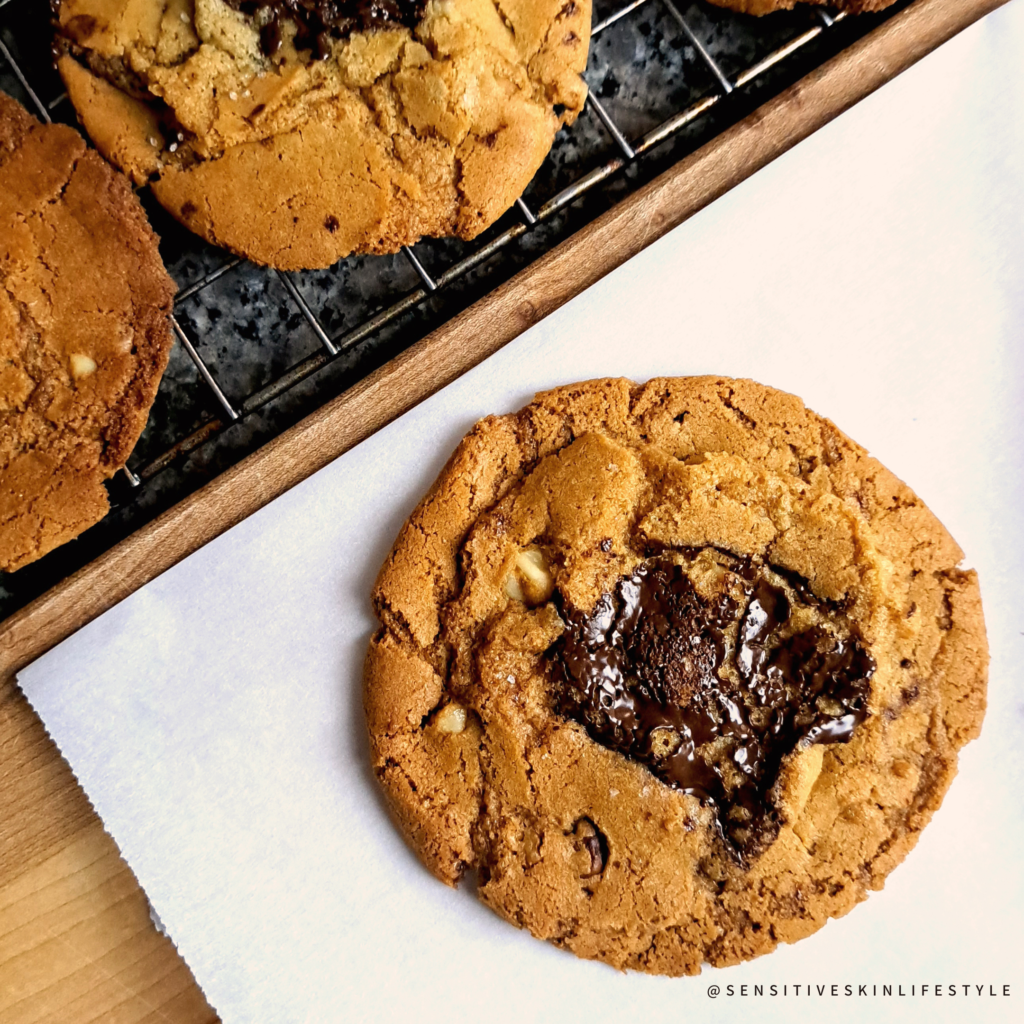
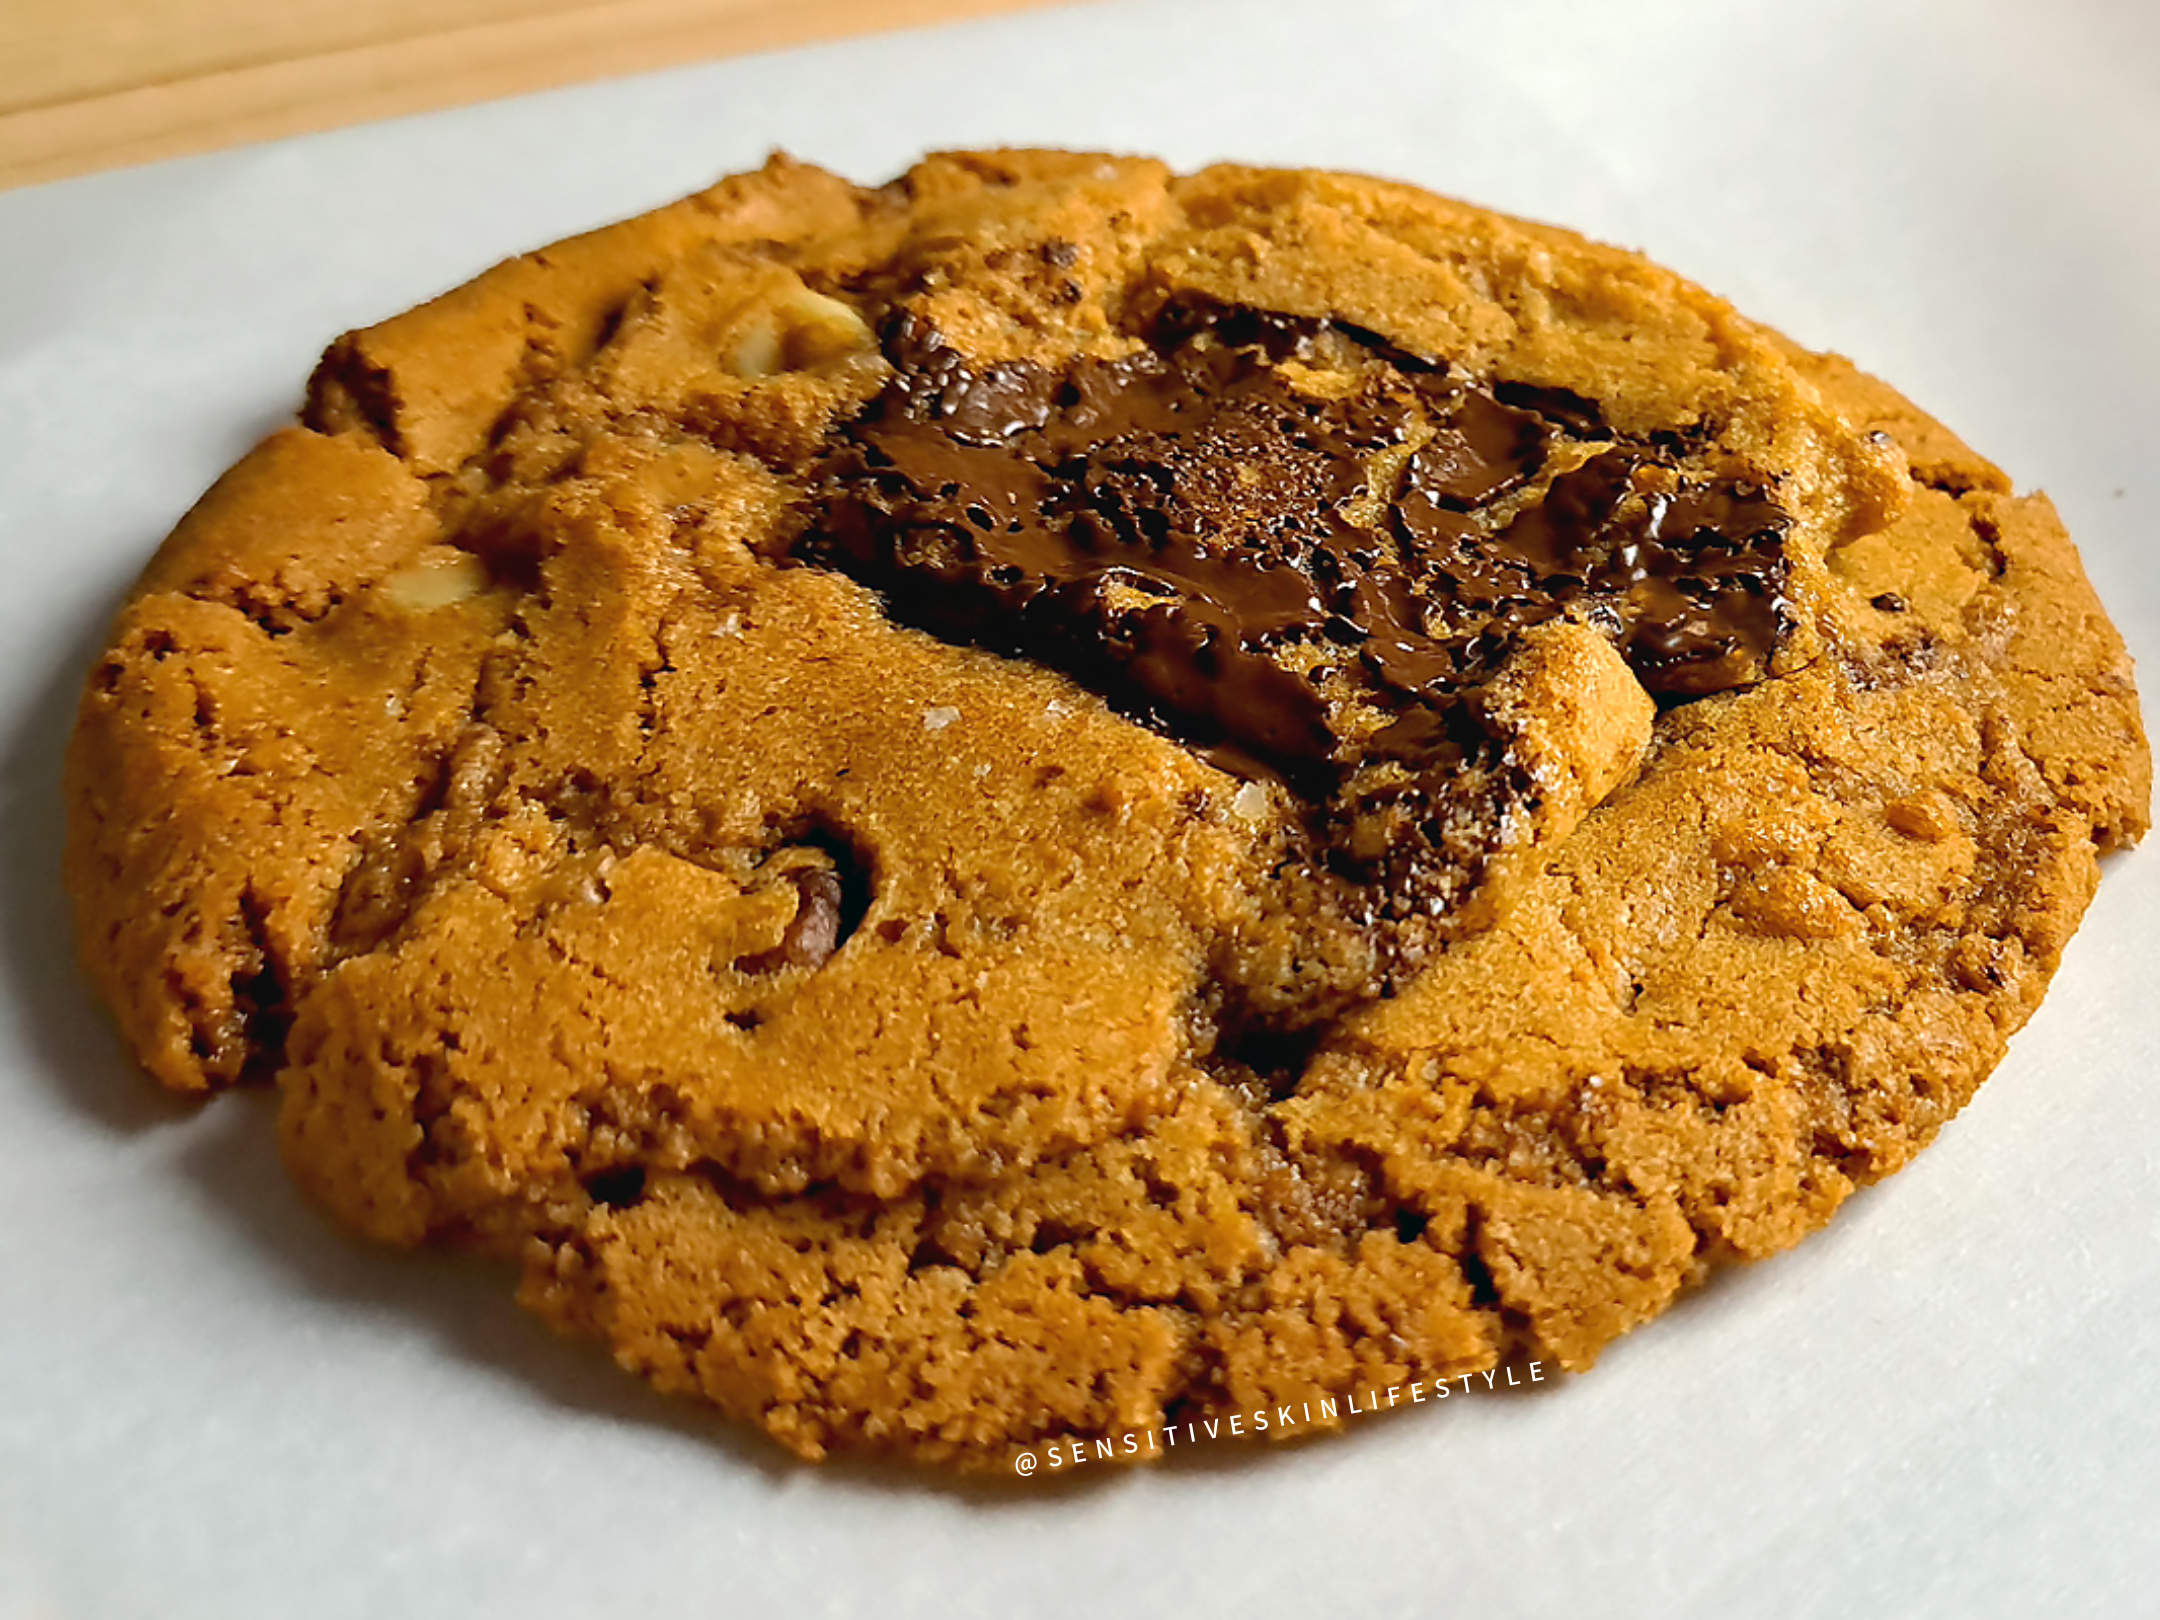
After experimenting various recipes for almost 10 years, I am finally satisfied with this recipe. Each cookie’s texture is crisp but not brittle, not soft but a touch of chewy and gooey. More cookie, less chocolate, with surprises of walnut bits. #EatInModeration
Over the years, I have tried lots of popular youtube recipes that claim to produce a crisp yet chewy chocolate chip cookie.
From my experience, THE ONLY RECIPE THAT MADE THE CUT IS –“The Ideal Chocolate Chip Cookie + A Cookie Hack“ by Joshua Weissman – In my opinion the best chocolate chip cookie recipe on YouTube.
I recommend clicking on this link to watch his youtube recipe first to see how he makes it:
This recipe is based on Joshua’s recipe but here is how it’s different:
- Reduced amount of chocolate: the amount of chocolate he used is overpowering considering the fact this cookie is so sweet. Can’t cut too much on the sugars because we need the sugars to produce this ideal texture.
- Slightly reduced amount of sugar: that being said, I reduced the sugars ever so slightly.
- I DID NOT USE THE PAN BANGING METHOD because my baking trays are light and I don’t want to risk the cookies popping out, moving around or falling on the ground. Also, banging cookie trays are too loud for my ears. I did try the pan banging method but it did not produce the crinkley texture as easily as he did.
- I used a different method to achieve the thin edges and somewhat crinkley top.
- Instead of using a chocolate bar, I used belgian dark chocolate wafers which I got from bulk barn.
- I love bits of walnut in chocolate chip cookies, it gives a differentiated texture and a nice surprise – so I included them.
- Included instructions on how to make them if you freeze the cookie dough.
INGREDIENTS:
(yields 12 large cookies, each with a diameter of ~5 inches)
- 112g unsalted butter, melted
- 180g dark brown sugar
- 90g white sugar
- ~50g whole egg (1 large egg)
- ~18g egg yolk (egg yolk from 1 large egg)
- 5g vanilla extract
- 200g all purpose flour
- 4g baking soda
- 3g kosher salt
- 60g belgian dark chocolate wafers (or any chocolate wafers/bars) of your choice
- 45g raw walnut pieces
METHOD:
- Melted unsalted butter into a small sauce pan over medium heat. Set aside.
- Add sugars in a mixing bowl.
- Mix it for 10 seconds using a hand mixer or stand mixer (whisk or beater attachment)
- Combine melted butter into the sugars on medium speed.
- Mix in one whole egg until smooth.
- Then mix in the egg yollk and vanilla extract.
- Add all purpose flour, baking soda and kosher salt. Mix on low spead until well combined.
Do not over mix. - Set aside 12-13 whole dark chocolate wafers.
- Break remainder chocolate wafers into halves and quarters and fold them into the cookie batter.
- Fold in walnut pieces into the batter.
- Wrap cookie dough in cling wrap. Refrigerate for 30 minutes.
- After 30 minutes, portion out into ~60g dough balls. This yields about 12-13 dough balls.
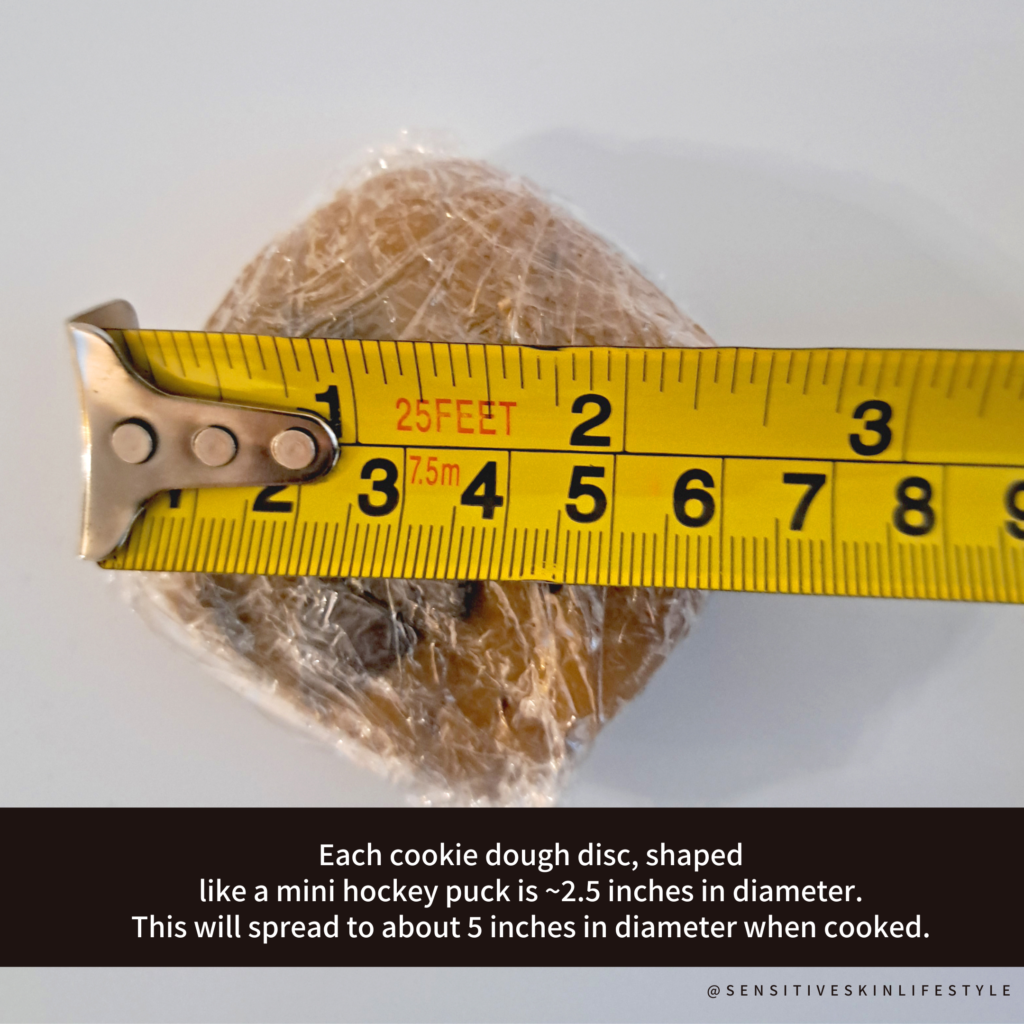
- Place one whole chocolate wafer in the middle of each dough ball and gently press down and shape them into circular discs that are 2.5 inches in diameter. (See photo entitled “Step 13” below)
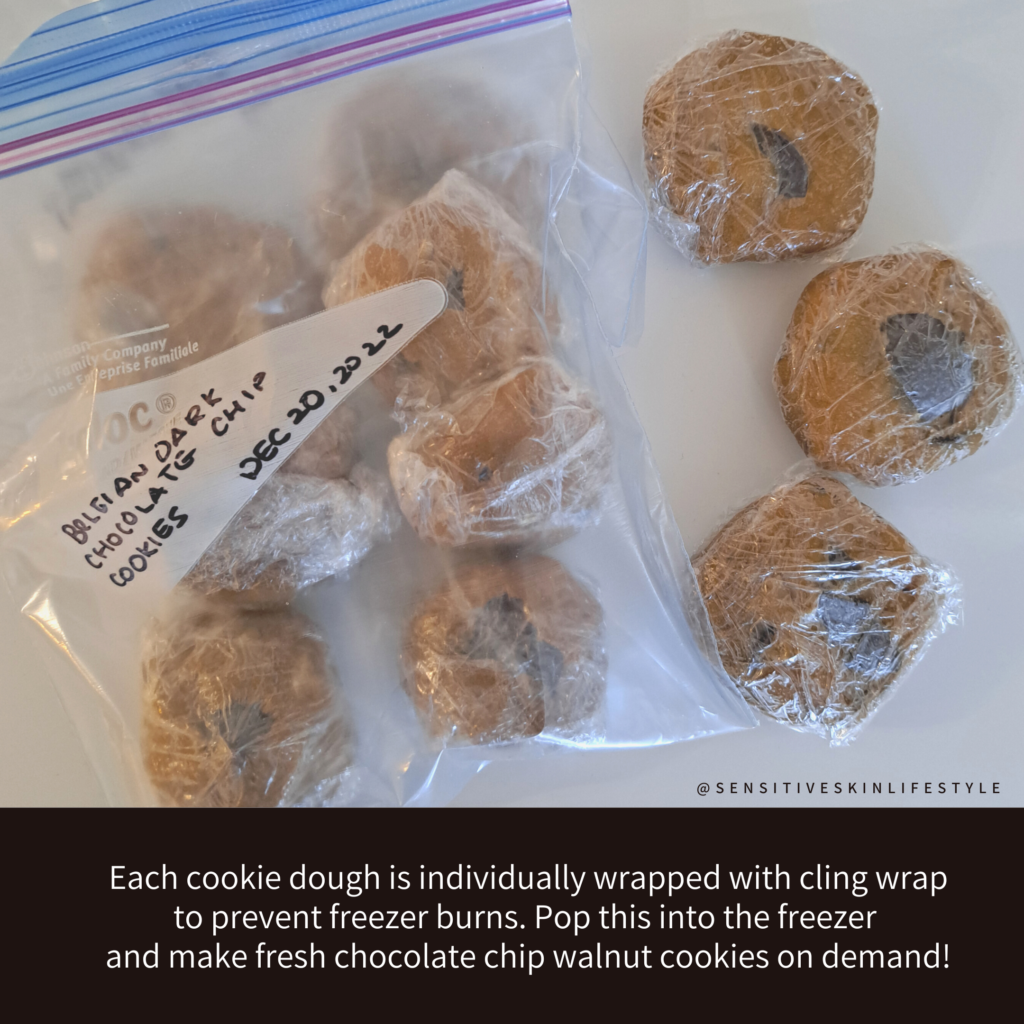
- Wrap each cookie dough discs with cling wrap.
- Let it sit in the fridge for 48 hours (optional). This is the aging process which allows the flavours to become more complex, resulting in a more pronounced cookie flavor. No effect on crinkliness of the cookie with this method I will be showing you, so if you can’t wait 48 hours, go ahead and bake.
- After 48 hours, take out the number of cookies you want to make, and freeze the rest of the cookie dough discs in a zip lock bag for later use. (See photo entitled “Step 16” below)
- Preheat oven to 350F/175C.
- Line baking sheet with parchment paper.
- Place each cookie dough discs at least 2 inches apart on all sides. This is so that there will be enough room for the cookie to spread.
Depending on the size of your cookie sheet, this could mean 3, 4 or 6 cookies per sheet. - Bake cookies for 8 minutes.
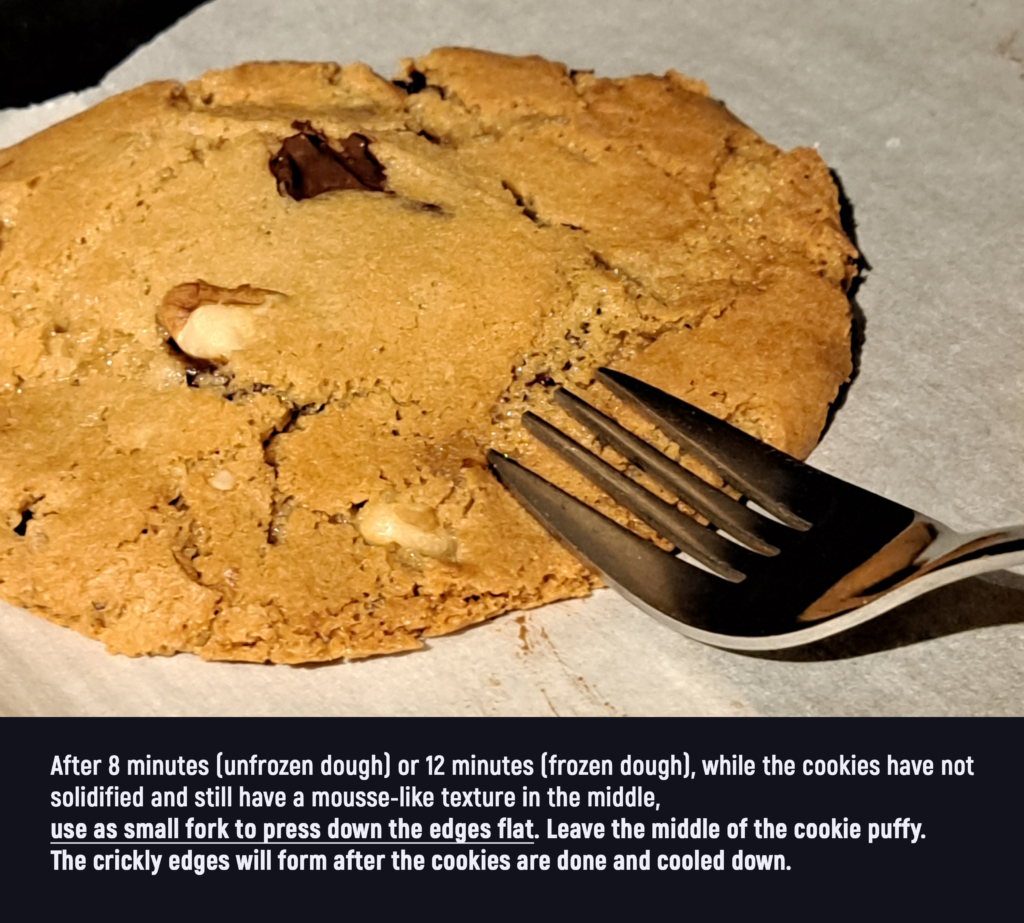
- Take tray out of the oven. Using a small fork, flatten only the edges of each cookie.
(See photo entitled “Step 21” below) - Continue to bake at 350F/175C for another 4 hours.
- Remove from oven and let it cool for 15-20 minutes either on the parchment paper . At this point the cookies will look fragile and easily broken apart. But it will solidify and crisp up after 20 minutes.
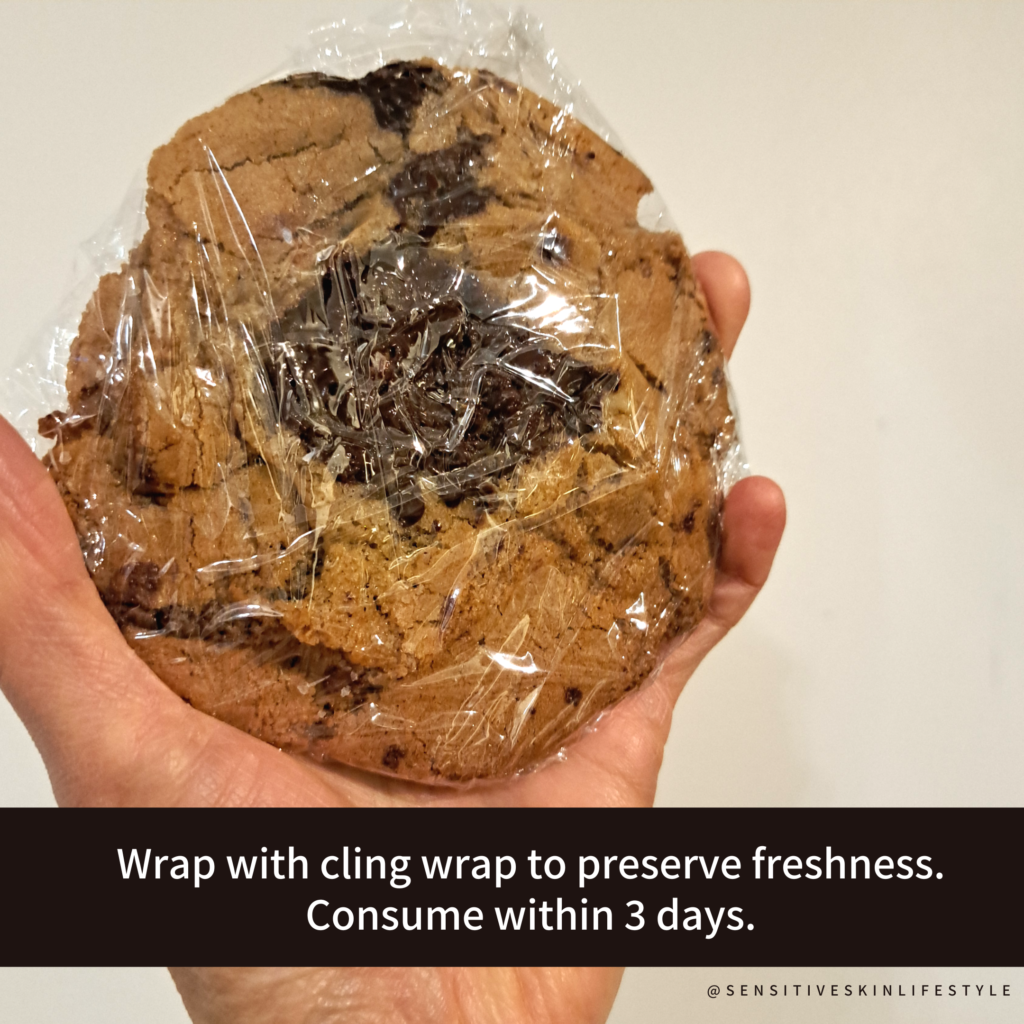
- If not consuming immediately, wrap each cooke with cling wrap tightly to preserve its freshness. Consume within 3 days. (See photo entitled “Step 24” below)
- READY TO SERVE!
INSTRUCTIONS FOR BAKING COOKIES FROM FROZEN DOUGH DISCS:
- Preheat oven to 350F/175C.
- Place frozen cookie dough on parchment paper.
- Ensure each cookie dough disc are 2 inches apart as cookies will spread.
- Bake in preheated oven for 12 mins.
- At the 12 min mark, use a small fork to flatten only the edges of each cookie.
- Bake another 3-4 minutes at 350F/175C.
- Remove from oven and let it cool for 15-20mins.
- If not consuming rihgt away, wrap each cookie inc ling wrap to preserve freshness.
